"Your Disk Is Almost Full" on Mac: What to Do First

On this page
- What the warning means
- First: save your work
- The five-minute fixes
- Bigger wins once you can breathe
- How much space should you free right now?
- Find the biggest folders with Terminal
- Common causes by type of user
- Turn on Apple's built-in helpers
- If your Mac is too full to start properly
- What not to do in a hurry
- How to stop it happening again
- How Purgy frees space when the disk is nearly full
- Questions people ask about the "disk almost full" warning
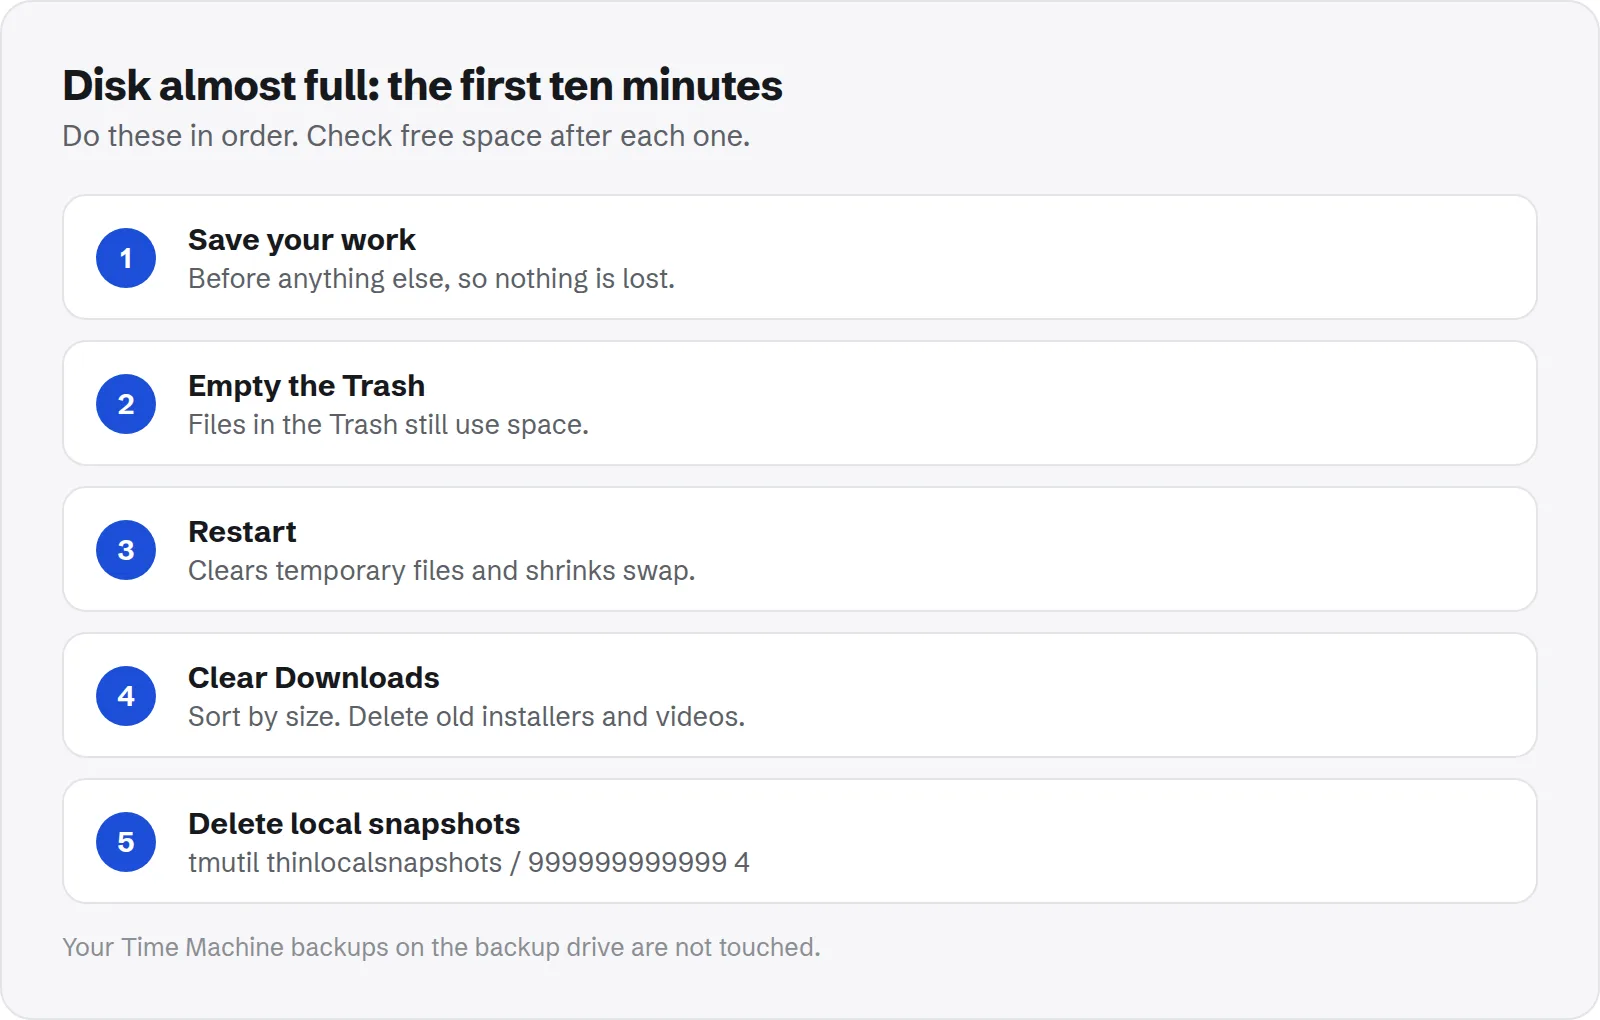
Quick answer: Save your work, then free space in this order: empty the Trash, restart, delete large files in Downloads, and delete Time Machine local snapshots with tmutil thinlocalsnapshots / 999999999999 4.
That usually frees enough to work again within ten minutes. Then use Storage settings to find what filled the disk, so it does not happen again.
The "Your disk is almost full" warning means your Mac's startup disk is running out of space. macOS shows it before things start to break, which is good news: you still have time to fix it calmly.
Ignoring it is risky. A completely full disk can stop apps from saving, crash programs and make your Mac struggle to start. This guide gives you the fastest safe fixes first, then the longer-term ones.
What the warning means
macOS shows this warning when free space on your startup disk drops very low. Your Mac needs free space for more than your files.
- Swap: when memory is tight, macOS writes some of it to disk.
- Temporary files: apps create them while they work.
- Saving and updating: apps need room to save documents and install updates.
Without that room, your Mac slows down, apps quit unexpectedly, and you can lose unsaved work. That is why the warning appears well before the disk is completely full.
First: save your work
Before anything else, save open documents. If space runs out completely, apps may fail to save.
If an app cannot save, try saving to an external drive or a cloud folder that is online-only. Close apps you are not using, which frees memory and reduces swap.
The five-minute fixes
These steps are safe and fast. Do them in order, and check your free space after each one. Often the first two or three are enough.
1. Empty the Trash
Files in the Trash still use space. Right-click the Trash in the Dock and choose Empty Trash. Check it first for anything you meant to keep.
2. Restart your Mac
A restart clears temporary files and shrinks swap. On a Mac that has been running for weeks, this alone can free several gigabytes.
3. Clear out Downloads
Open Downloads in Finder, switch to list view with Cmd + 2 and sort by Size. Installers, videos and zip files you no longer need are often at the top. Move them to the Trash and empty it.
4. Delete Time Machine local snapshots
Snapshots can hold a lot of space that Finder does not show. Deleting them does not touch your backups on your backup drive.
tmutil thinlocalsnapshots / 999999999999 4See how to delete Time Machine local snapshots for details.
5. Delete old installers
Look in Applications for apps named "Install macOS …". Each is often over 12 GB, and is safe to delete once you have upgraded.
Bigger wins once you can breathe
With some space back, find what really filled the disk. Open System Settings > General > Storage and look at the largest categories.
- iOS Files: old iPhone backups. See how to delete old iPhone backups.
- Messages: years of attachments. See how to clear Messages attachments.
- Photos: a large library. Consider iCloud Photos with Optimize Mac Storage.
- System Data: hidden caches, backups and app data. See why System Data is so large.
If none of these explains it, see Mac storage full but can't find the files.
How much space should you free right now?
You do not need to clean everything today. Free enough to get out of the danger zone, then plan the rest.
- To keep working: about 10 GB free stops most crashes and failed saves.
- To feel normal again: 15 to 20 percent of your disk, about 40 GB on a 256 GB Mac.
- To install a major macOS update: often 25 GB or more. See how to make space for a macOS update.
Check your progress with View > Show Status Bar in Finder. It shows free space at the bottom of every window, so you can see each step working.
Find the biggest folders with Terminal
If Storage settings is slow to load, Terminal gives you answers in under a minute. This command lists the largest items in your home folder, including hidden ones.
du -sh ~/* ~/.[!.]* 2>/dev/null | sort -hr | head -15Look for anything over a few gigabytes that you do not recognise. Common surprises are a Library folder full of app data, a hidden developer folder, or an old project in Documents.
To look deeper, run the same command on one folder, such as du -sh ~/Library/* | sort -hr | head. Our guide to seeing what is taking up space on your Mac covers every tool in more detail.
Common causes by type of user
What fills a disk depends a lot on how you use your Mac. These patterns come up again and again.
- Everyday users: Photos, Messages attachments and old iPhone backups.
- Remote workers: chat and meeting app caches. See Slack and Microsoft Teams.
- Developers: simulators, Docker images and package caches. See Docker disk space.
- Creative work: video projects and app support files. See Adobe Creative Cloud if you no longer use it.
Turn on Apple's built-in helpers
Storage settings offers recommendations that free space automatically. A couple of them are worth turning on.
- Store in iCloud: keeps files and photos in iCloud and frees local copies when space is low.
- Empty Trash Automatically: removes items that have been in the Trash for 30 days.
- Optimize Storage: removes Apple TV movies and shows you have already watched.
Apple's guide to freeing up storage space on Mac describes each recommendation.
If your Mac is too full to start properly
If the disk filled completely, your Mac may start very slowly, freeze at login, or fail to finish starting. You can usually still recover.
- Try Safe Mode: it starts with fewer things running and clears some caches. Once you are in, delete large files you do not need, then restart normally.
- Use macOS Recovery: start up in Recovery and run Disk Utility's First Aid on your startup disk.
- Get help if unsure: deleting files from Recovery with Terminal is possible but easy to get wrong. If you are not comfortable, ask Apple Support or a trusted technician.
How you start in Safe Mode and Recovery depends on whether your Mac has an Apple chip or an Intel chip. Apple's support site explains both.
What not to do in a hurry
When the warning appears, quick fixes from the internet can make things worse. Avoid these.
- Do not delete system folders. Anything in
/Systemor/privatebelongs to macOS. - Do not delete your Photos library or Messages folder. Clean them from inside their apps.
- Do not run delete commands you do not understand. One wrong path can remove your files.
- Do not ignore the warning for days. The risk of a failed save or startup grows as space runs out.
How to stop it happening again
Once you are out of the danger zone, a few habits keep you there. None of them take long.
- Keep 15 to 20 percent free. That leaves room for swap, updates and normal changes.
- Check Storage settings monthly. Catch growth early.
- Move big media off the Mac. Use iCloud or an external SSD.
- Set limits in chat and streaming apps. They are common causes of slow growth.
If you have a smaller disk, our guide to living with a 256GB MacBook has a complete routine.
How Purgy frees space when the disk is nearly full
When the warning appears, you want space back without risking anything. Purgy is built for that moment.
- Open Purgy and let it scan. The Overview shows a total of what is safe to clear now.
- Caches, logs, developer caches and old macOS installers are ticked for you. Press Clean now. By default these are deleted outright, so the space is free immediately, with no Trash to empty first.
- For a bigger gain, open the Review list. Old iPhone backups, local snapshots, archives in Downloads and AI models are listed with their sizes, unticked. Files you choose go to the Trash, so you can still undo them.
- Use the Space map or the Documents screen to find the large files that remain.
Purgy never touches your documents, photos, mail or messages automatically. If the disk is so full that your Mac struggles to start, use the steps above first. Keep the free trial ready for the next time the warning appears.
Questions people ask about the "disk almost full" warning
These come up most when the warning appears.
How much free space does a Mac need?
Aim for 15 to 20 percent of your disk. Below about 10 percent, many Macs start to feel slow and updates may fail.
Why does the warning keep coming back?
Something keeps filling the disk, often a sync app, a growing cache, or snapshots. See why your Mac storage keeps changing to find it.
Can a full disk damage my Mac?
It does not damage the hardware. But it can cause lost work, crashes and trouble starting up, so it is worth fixing quickly.
Will deleting snapshots delete my backups?
No. Local snapshots live on your Mac. Backups on your Time Machine drive are separate and are not touched.
Is it safe to delete files in Downloads?
Yes, if you no longer need them. Downloads holds copies of files you fetched; check before deleting anything you have not saved elsewhere.
Why is my disk full when I have few files?
Hidden data such as backups, caches, snapshots and app data often uses more space than your own files. Storage settings shows most of it under System Data.
Can I turn the warning off?
No, and it is better not to. The warning is your early notice. Free space instead, and it goes away by itself.